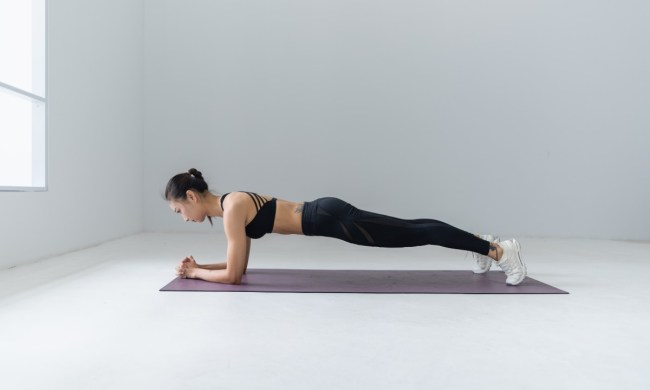
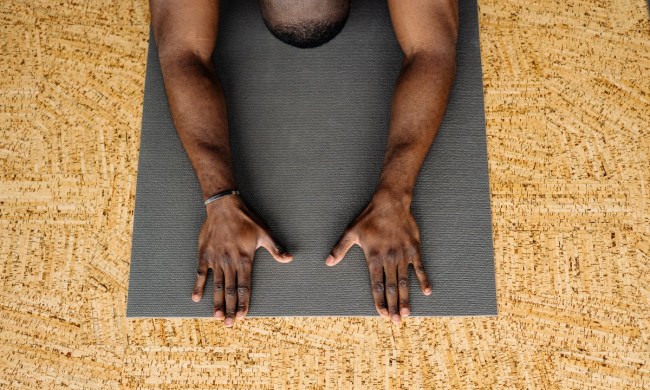
Whether you have pandemic posture or have been engaging in heavy lifting lately, you may have noticed pain in your hips and back. This pain can affect your ability to work out — or work at all — because it can decrease mobility. Stretching the hips and back can provide some relief.
Any targeted stretches can help, but experts say that yoga can be especially beneficial. Yoga strengthens and stretches your muscles. Regular practice can reduce pain and tension, increase flexibility, and improve mobility. Many videos on YouTube can take you through an entire routine, but you can do yoga for hips and backs by running through a few poses on your own. Here are six to try out.
Pigeon pose
Why does pigeon pose help?
If you’ve been sitting for long periods or cycling, you may notice some tightness in your glutes. This isn’t just a (literal) pain in the butt — it can affect your hips and back, too. Pigeon pose stretches the glutes while also opening the hips, enhancing your range of motion in the process.
How to do pigeon pose
1. Get on all fours as if you are about to crawl. Move the hips towards the ceiling, keeping feet and arms straight on the mat as you get into a downward-facing dog.
2. Raise your right leg straight up towards the ceiling. Both hands should remain on the mat.
3. Bring the right leg forward and place your right knee behind your right hand. Your right ankle should be behind your left hand. Keep both hips on the floor, with your left leg straight behind you.
4. Square your hips. Hold for a minute or more.
5. Bonus: To get an even greater stretch, lean forward, lowering your torso towards the mat. Make a pillow with your hands and rest your head on it.
6. Switch sides and repeat.
Figure four stretch
Why does figure four help?
Similar to a pigeon pose, the figure four stretch serves as a hip opener. It works the hip rotators, improving mobility and flexibility in the hips.
How to do figure four stretch
1. Sit on the floor with your feet flat in front of you.
2. Take your right ankle and place it on your left knee. Using your hand, gently move your knee down, creating a figure four. Hold for 30 seconds or more.
3. Switch sides and repeat.
Note: You can also do this pose lying down or even sitting in a desk chair.
Cat-cow pose
Why does cat-cow help?
Cat-cow is the yoga version of a two-for-one special, and your body reaps the benefits. It combines two poses (cat and cow) and stretches your entire back, from your shoulders to the base of your spine. It also works the abs and obliques, which improves posture. A stronger core and better posture also help you put less pressure on your back in the future.
How to do cat-cow
1. Get on all fours. Your hips should be squared to the floor and in one line with your knees. Your shoulders should be directly over your hands. Engage your abs, pulling your belly button in towards your spine as you inhale.
2. Exhale and round your back towards the ceiling. You’ll essentially look like an angry cat on a Halloween decoration. Continue to engage your abs. Hold for five breaths.
3. Inhale as you arch your back, allowing your belly to relax towards the floor. Hold for five breaths. Repeat for one minute.

Crescent lunge
Why does crescent lunge help?
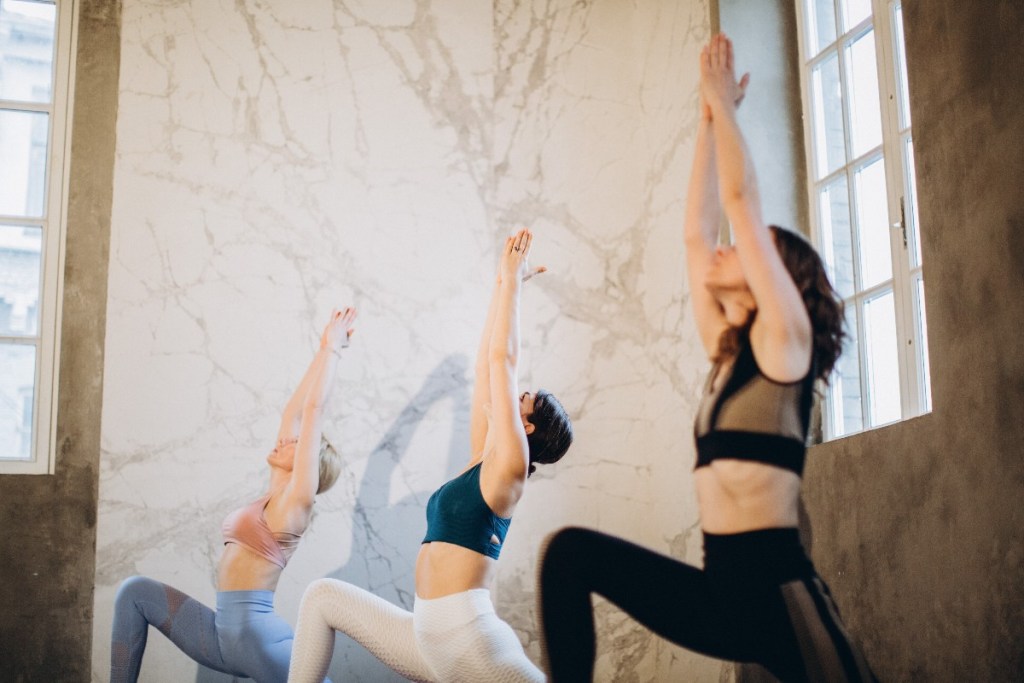
Crescent lunge is a moderate-intensity yoga pose that is ideal for stretching the hips and back. During the pose, you’ll get a nice backbend while opening the hip flexors.
How to do a crescent lunge
1. Get into a low lunge position by placing your right knee on the mat behind you. Your left leg should be out in front of you, with your thigh parallel with the mat. Keep your left knee and right ankle aligned.
2. Place your hands on your left knee. Inhale, and raise your hands towards the ceiling, keeping your biceps in line with your ears. Move your hips slightly forward and take a gentle backbend. Hold for 30 seconds to one minute.
3. Repeat on the opposite side.
Locust pose
Why does locust pose help?
This gentle backbend can soothe pain in your lower spine while also strengthening the muscles around it.
How to do locust pose
1. Lie down on your stomach. Place your arms by your torso with your palms facing towards the ceiling. Rest your forehead on the floor.
2. Bring your big toes together as you rotate your thighs inward.
3. Exhale. Lift your head, chest, and arms halfway off of the floor. Your ribs, belly, and pelvis should remain firmly rooted on the mat. Inhale.
4. Exhale. With your upper body still raised, lift your legs off the floor.
5. To deepen the back stretch, interlace your hands behind your back.
6. Keep your gaze forward or slightly upward and soft. Hold for 30 seconds to a minute.
Yoga for hips and backs is a great way to relieve pain and tension. Certain poses specifically target these areas, allowing you to get a good stretch. Consider doing them once or twice per day, such as in the morning and before bedtime. The aim is to relieve pain, not create more, so make sure you keep good form in mind. Taking a professional yoga class may help you learn the basics if you’re new to the exercise. If these stretches aren’t working, speak with a doctor. They may be able to refer you for additional treatment, such as a chiropractor so that you can regain mobility and comfort.
BlissMark provides information regarding health, wellness, and beauty. The information within this article is not intended to be medical advice. Before starting any diet or exercise routine, consult your physician. If you don’t have a primary care physician, the United States Health & Human Services department has a free online tool that can help you locate a clinic in your area. We are not medical professionals, have not verified or vetted any programs, and in no way intend our content to be anything more than informative and inspiring.


